Grenades and utility
CS2 Nuke Lineups: Smokes, Flashes & Molotovs
The must-know Nuke smokes, flashes and molotovs for both sides — what each one is for, and how to drill the exact lineups with GetReplay's utility tool.
Updated July 31, 2026
Nuke is the most vertical map in CS2, and most rounds on it are decided before anyone reaches a bombsite. A site sits directly on top of B, the CT rotations are the shortest in the pool, and a defender in Heaven or Garage covers a huge part of the map for free. Utility is how the T side pays for that space, and how the CT side buys the seconds a rotation needs. This guide walks through the Nuke smokes, flashes and molotovs that actually matter on each side — what every grenade is for — with each one linked straight to its lineup.
Winning the yard (T side)
Nothing else on Nuke works until Outside is settled. The yard is where the CTs get their free angles — Garage, Main, Lockers and the catwalk above — and it is also the only way to reach Secret and the lower site. That is why the T-side utility pool is built around crossing it, not around the bombsites.
Start with Main. The Main waterfall smoke falls vertically from above and cuts the view out of Main across the yard, so you can move toward Red, Secret or Garage without being held from the doorway. There is a second throwing position for the same wall — both appear under the same title in the tool, so pick the one that fits where you spawn instead of learning both.
Then take away the CT side of the yard:
- Garage smoke from T spawn — forces an AWPer or rifler holding Garage to fall back, which opens outside control, the drop into Secret, and an A hit through Main. It also sells a fake better than any other grenade on the map.
- Outside cross smoke — lands between Silo and the red boxes and blocks the Garage and Silo sightlines for the cross itself.
- Lockers smoke from T red — the Lockers windows look straight out over the yard. It is the free angle most teams forget to close.
The red boxes are the halfway house of the cross, and there are two smokes for them: the close red smoke from T spawn for the near side and the deep red smoke from T spawn for the far one. Use them together when you want a full wall rather than a single blocker.
Two more grenades finish outside control. The Heaven stairs smoke from outside drops a wall on the stairs so the angle from above stops covering the yard, and the yard red box flash is thrown from Silo, pops by the red boxes and blinds Main, CT box and Garage for the moment you actually run.
Executing A (T side)
An A execute on Nuke is three problems: the angle from above, the CT sitting on Hut, and the plant spot itself.
Heaven is the angle. The Heaven smoke closes the strongest defensive position on the map, and it is the single grenade that changes an A hit the most. Learn this one first. The same smoke has two more throwing spots: from Tetris when you are coming off the boxes Outside, and from A site itself when you are already inside and closing the angle above you after the plant.
Hut is the second problem. The Hut molotov from T roof burns the CT off the top of Hut — an elevated spot with a clean angle onto everyone entering through Main, Squeaky and Hut — so your entry is not traded from above before he is even on site.
Then clear the site. The A site default molotov from T roof burns the default plant spot and forces the anchor out of it instead of asking your entry to find him, and the Squeaky smoke covers the squeaky-door entry onto the site.
Flashes finish the execute. The A site flash from Hut is thrown from inside Hut and pops just outside the doorway, blinding whoever holds the direct angle on it — the easiest one to learn here. The A site flash from T roof is a jumpthrow that detonates high above the site through the skylight: it blinds Rafters, Heaven and the default plant spot while you stay out of sight.
Going lower to B (T side)
Lower Nuke is the lightest part of the lineup pool — two smokes — which fits how the site is usually taken: with timing and the pressure you already built outside, not with a stack of grenades.
The Squeaky smoke for the fast door vent drop is the one to know. It is thrown for the execute where you break the squeaky door open, smoke it, and drop through the vents straight into B. Pair it with a Hut molotov and flashes toward A and the CTs commit upstairs while you are already below them.
The Decon cross smoke is the other half of the lower game. Thrown from Trophy, it blocks the CT vision through Decon and makes a Ramp push — or a convincing fake of one — survivable.
Defending with utility (CT side)
Far fewer Nuke lineups are CT-side than T-side, and that is not an oversight: on defence the map does most of the work for you. Utility is there to break the two entries onto A and to answer an outside take.
Fire covers both A doors, and both molotovs are thrown from the same spot, so one player holding Heaven can shut down either entry:
- Hut molotov from Heaven — fire inside Hut stops a rush through it and buys the rotation.
- Squeaky molotov from Heaven — the same job on the squeaky door.
For the yard itself, the close-to-T red smoke cuts the crossing on the T side of the red boxes and slows an outside take while your team repositions. And the Silo grenade from Main drops damage onto Silo — the T-side perch over the yard — which is worth throwing on almost every eco round.
Learn the exact lineups in GetReplay
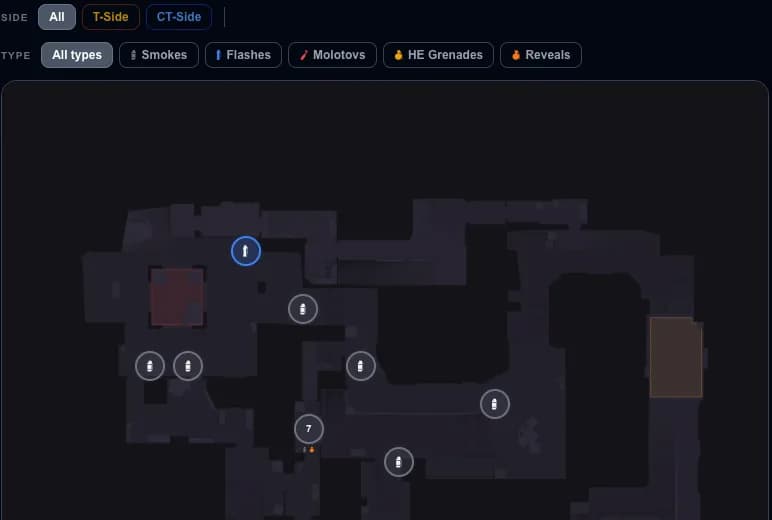
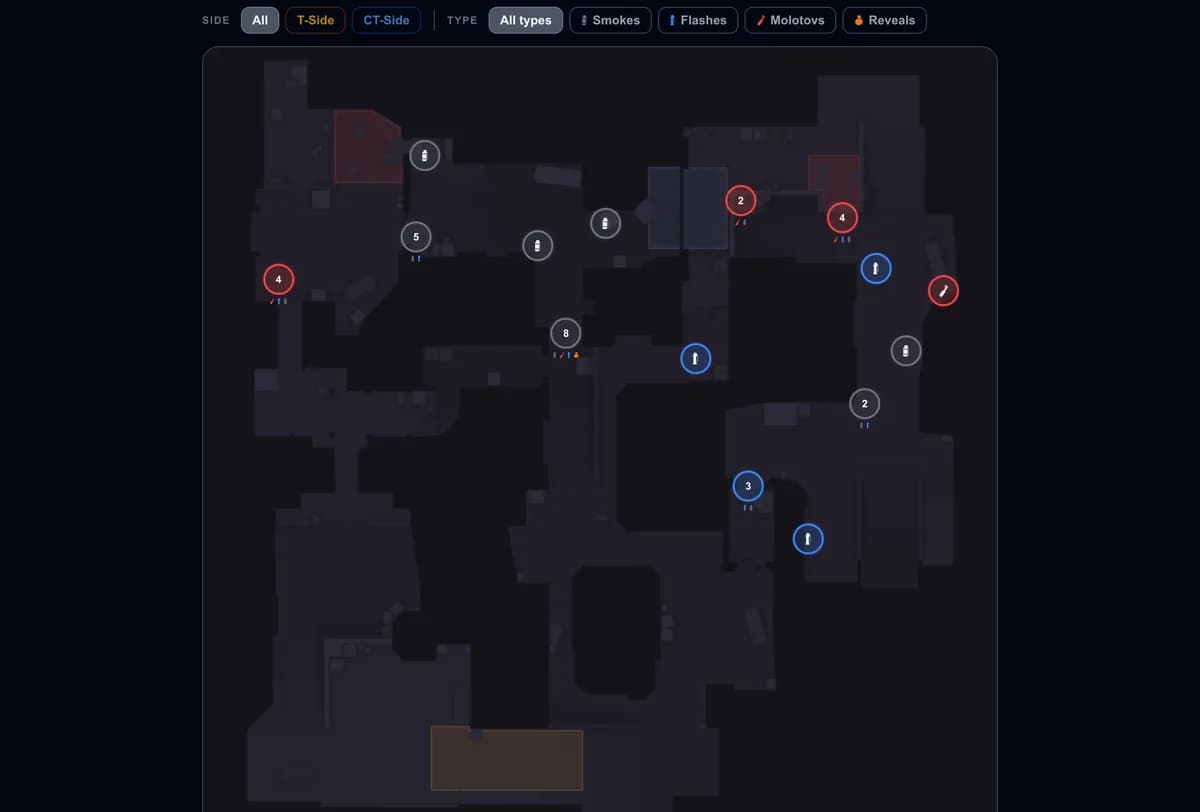
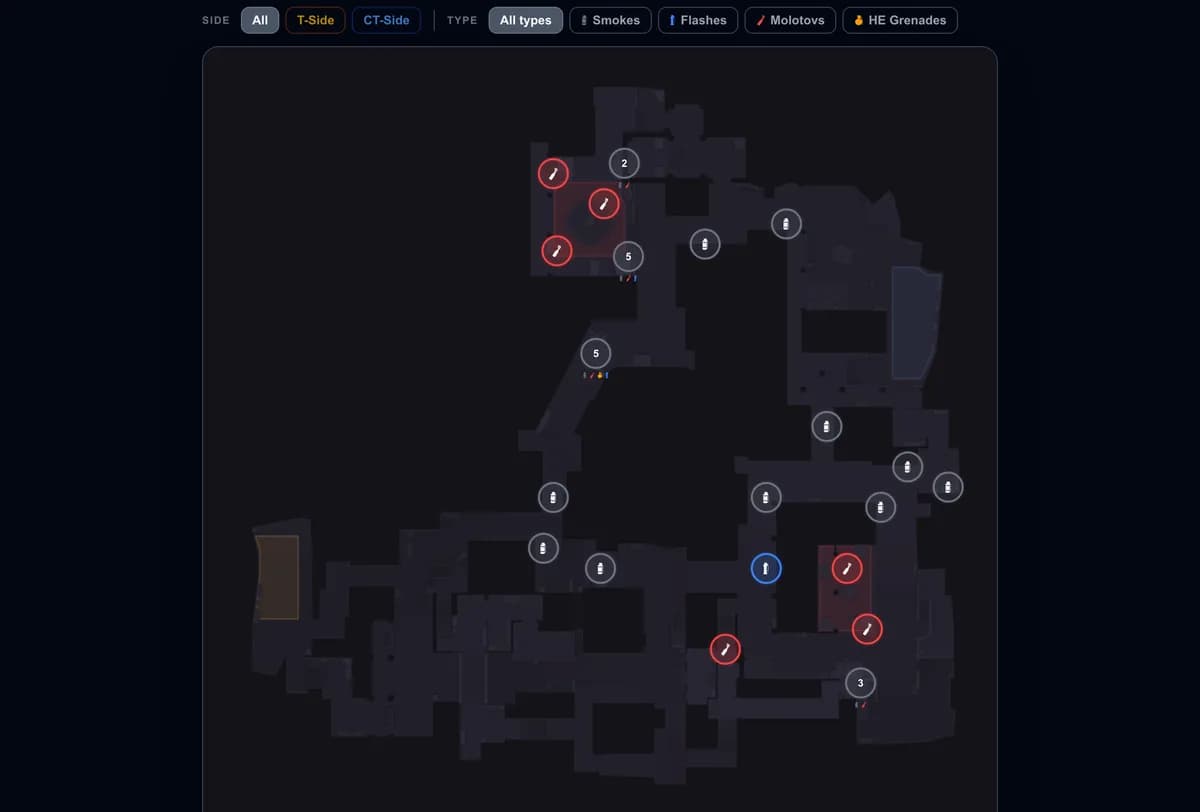
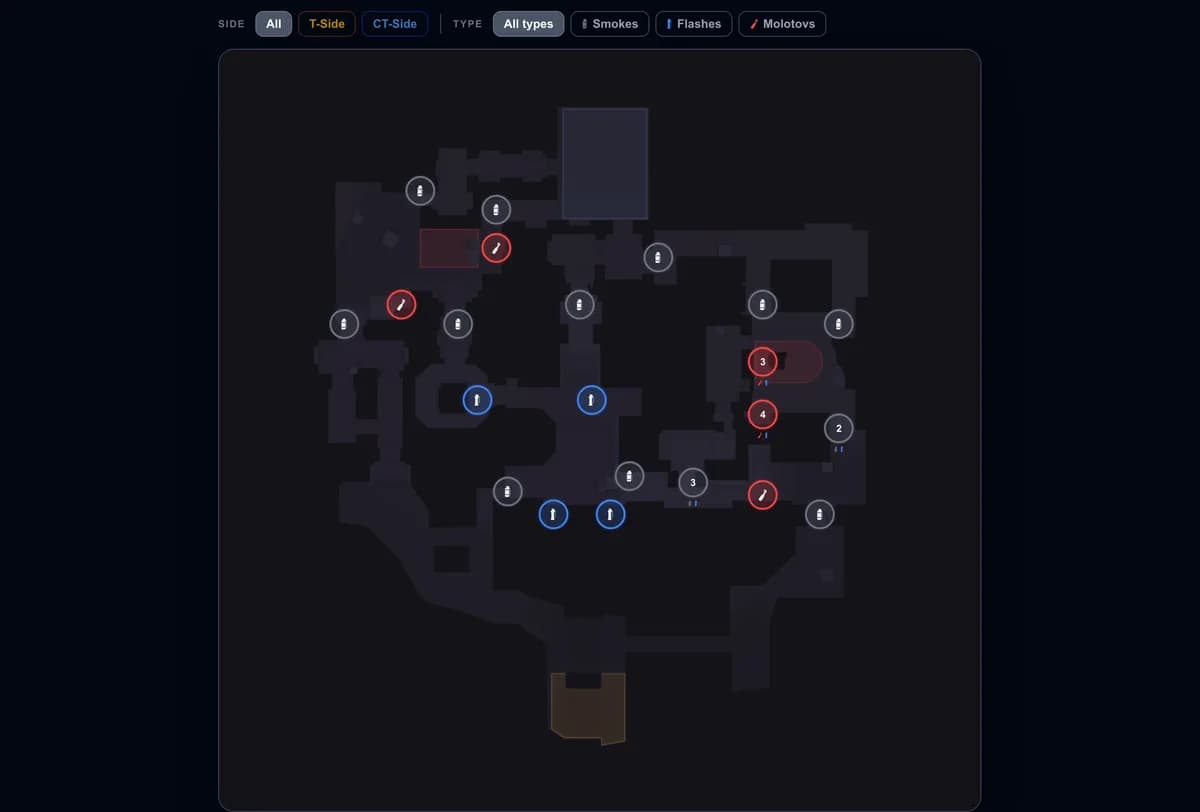
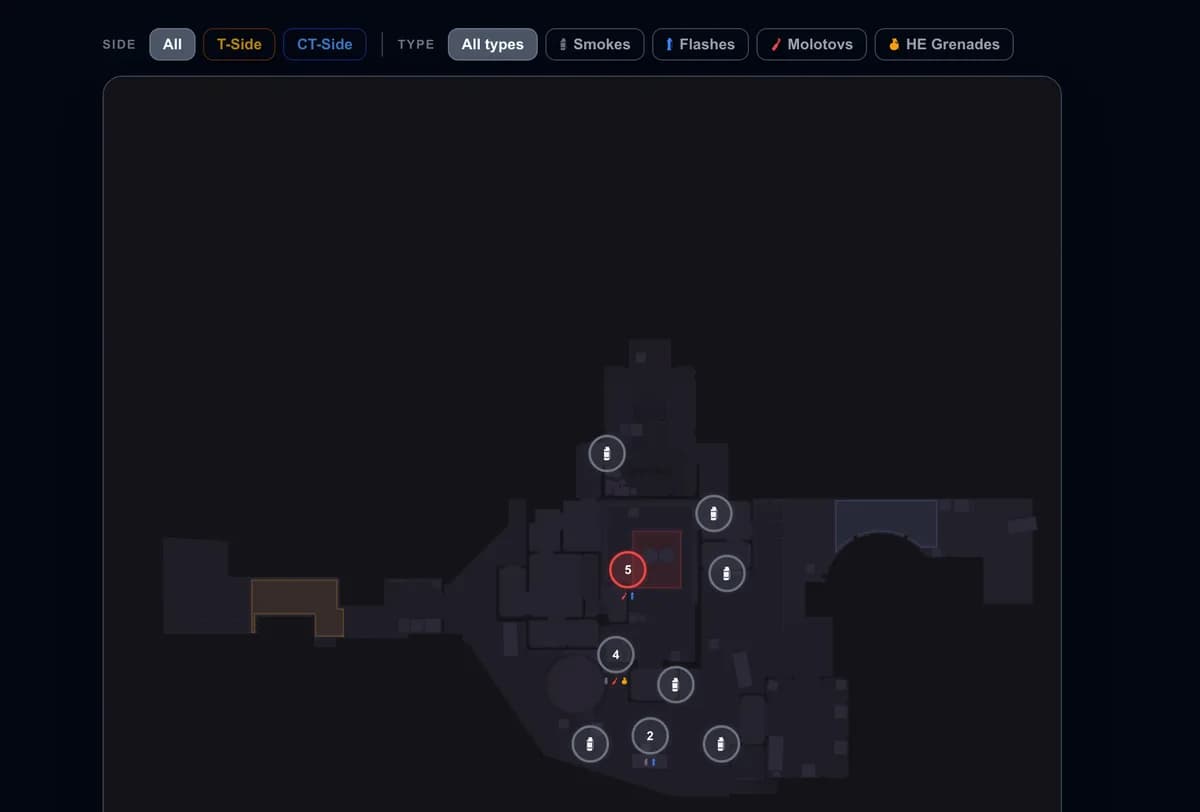
Knowing which grenade to throw is half the job; landing it is the other half. Every link above opens the lineup with its exact stand and aim point, and the Nuke utility tool lets you filter the full set by side and type — smokes, molotovs, flashes and HE. Start with the Heaven smoke, the Main waterfall and the Hut molotov, then widen your pool.
Drilling them until they're muscle memory
A lineup you can't hit under pressure isn't worth much. Load a local practice server, turn on sv_cheats 1, and use sv_rethrow_last_grenade to repeat the same throw instantly — see the repeat grenade command and bind for the one-key setup. Several of the outside smokes are jumpthrows, so set up a jumpthrow bind before you start. Run each throw ten times in a row until the motion is automatic.
Then check whether it's paying off: open a recent match in GetReplay and review your utility damage and flash assists to see which grenades are actually helping your team.
Once Nuke is covered, the Mirage lineups, Dust2 lineups, Inferno lineups and Ancient lineups are the natural next maps.
FAQ
Where can I find Nuke lineups? Use the Nuke utility tool — it shows the stand and land point for every smoke, flash, molotov and HE, sorted by side and type. Every grenade named in this guide links straight to its lineup.
What is the most important smoke on Nuke? The Heaven smoke. Heaven is the strongest defensive position on the map, and taking it away changes every A execute. The Main waterfall smoke is the next one to learn, because outside control comes before any site hit.
How many lineups do I need to know for Nuke? Four or five carry most rounds: the Heaven smoke, the Main waterfall smoke, the Garage smoke, the Hut molotov for A executes, and one CT molotov from Heaven for defence.
Why does Nuke have so much T-side utility? Because the T side has to buy space it doesn't start with. The overwhelming majority of lineups in the tool are T-side, and most of them exist to cross the yard — the part of the round the CTs otherwise win for free.