Grenades and utility
CS2 Overpass Lineups: Smokes, Flashes & Molotovs
The must-know Overpass smokes, flashes and molotovs for both sides — what each one is for, and how to drill the exact lineups with GetReplay's utility tool.
Updated July 31, 2026
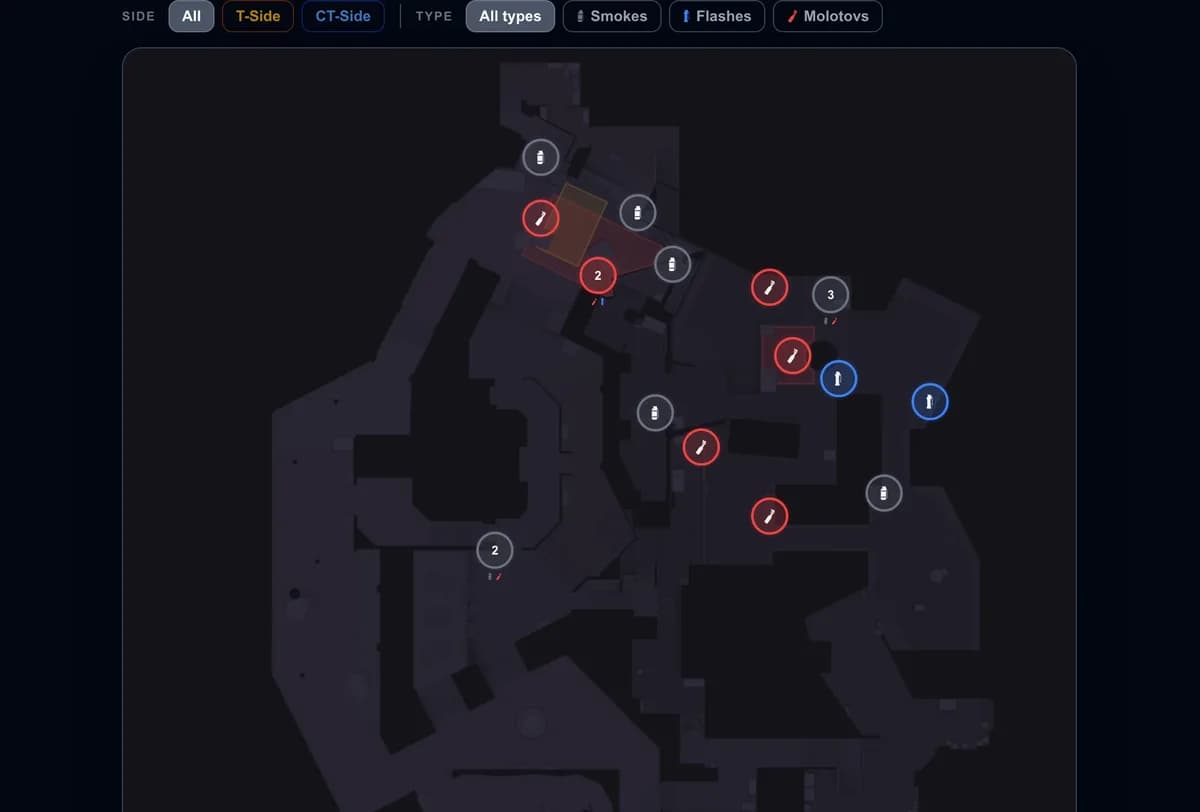
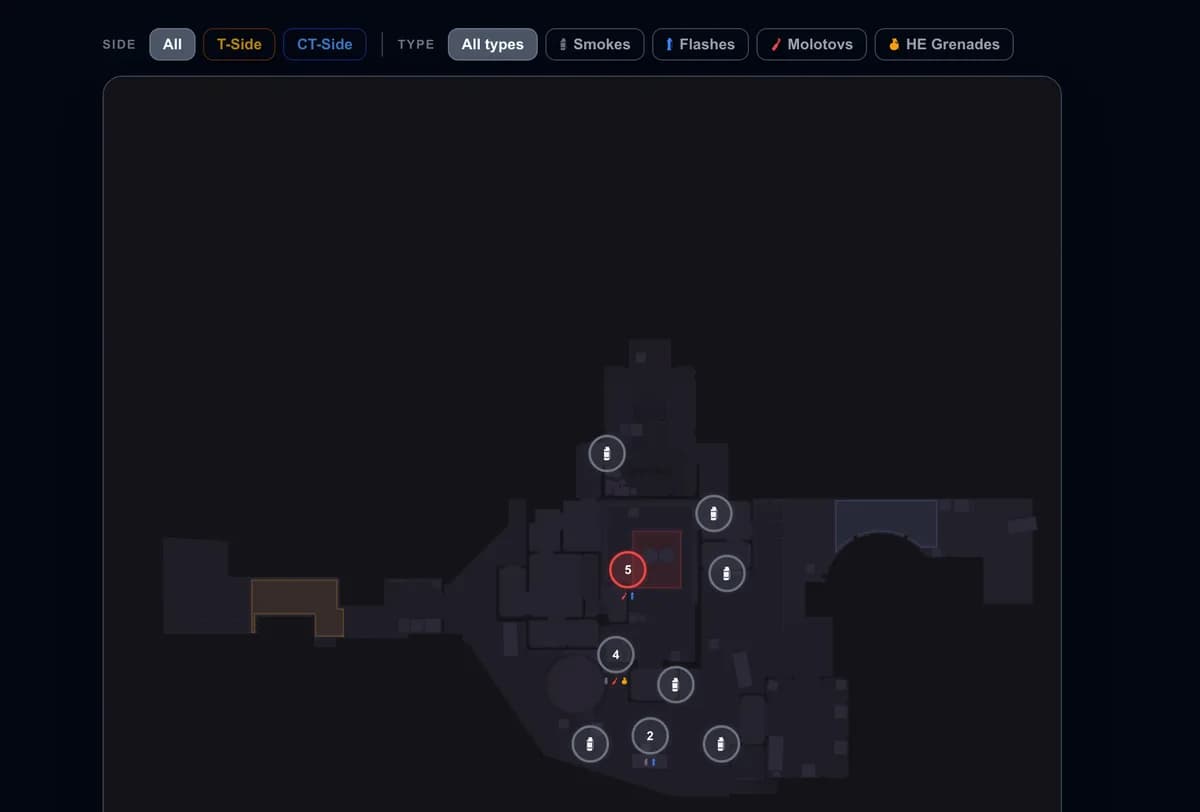
Overpass is the most utility-dependent map in the CS2 pool. Both bombsites are built around one elevated hold that a rifle alone cannot answer — Bank on A, Heaven on B — and both approaches run through open ground the CT side watches for free. That is why almost every Overpass lineup belongs to the T side: the attackers have to buy the map one grenade at a time. This guide walks through the Overpass smokes, flashes and molotovs that actually matter on each side — what every grenade is for — with each one linked straight to its lineup.
Taking mid and toilets (T side)
Nothing the T side does on A works until mid is settled. Toilets is the room that connects mid to A short, and it is the position every bank and bins smoke is thrown from or thrown past. Lose it and the rest of your A pool has nowhere to be used.
Two grenades handle it, and both are thrown from the fountain:
- Mid toilets smoke from fountain — blocks the line through the room so you can take the mid side of it without being held from the far end.
- Mid toilets molotov from fountain — the other half of the same problem. A smoke hides the CT who is already sitting inside; fire moves him.
Throw the molotov when you expect someone in there, the smoke when you only need to cross. With toilets yours, the CT spawn flash from toilets blinds the players coming down from spawn, which is what makes an early mid-to-A squeeze survivable instead of a coin flip.
Executing A (T side)
Bank is the reason A executes fail. It is the raised building at the back of the site with a window walkway looking down over everything, and it holds both entries at once. Smoke it or don't hit the site.
The tool carries several bank smokes, and they are not variations of one throw — there is one for each place you might be standing when the call comes:
Learn the one that matches the position you actually play, then add a second so a rotation doesn't leave you without it.
Bins is the next angle. It sits at the back of the site and covers the walk-in from short, so a defender there trades your entry even after bank is closed. Same idea, three throwing positions: from mid, from A long and from A short.
Then bring fire, because smokes only hide people. The A truck molotov from A long burns the truck — the cover an anchor uses to hold long and trade from behind. The A default molotov from A short burns the default plant spot and forces the anchor off it, so your entry isn't the one who has to find him.
Executing B (T side)
B is the tighter half of the map: two narrow entries, one raised platform, and a CT team that only needs to survive the first ten seconds.
Heaven is that platform, and it overlooks the whole site. Every serious B execute opens by closing it, which is why there are several heaven smokes:
- Heaven smoke from water and a second throwing position for the same wall — both appear under the same title in the tool, so take the one that fits where you stand instead of learning both.
- Heaven smoke from tracks — a jumpthrow for the approach along the train tracks.
- Fast heaven smoke from alley — the fast version, and the tool rates it hard. Leave this one until the rest are automatic.
With heaven down, deal with the ground floor. Barrels is the cover with the cleanest angle onto the entry, and there are two molotovs for it — from water and from tracks — so whichever side you approach from, the player holding it has to move. The barrels pillar smoke from tracks does the quieter version of the same job when you'd rather block the angle than announce the execute.
The B pit molotov from water covers the sunken hold at the back of the site — the spot an anchor drops into the moment he hears you — and the bridge smoke from water cuts the vision along bridge so the approach itself stops being watched.
Two flashes finish it. The pillar flash from water blinds the pillar angle for the moment you actually cross, and the sewers flash from tracks does the same for the sewers entrance. Neither is a jumpthrow, so both are worth learning early.
One more grenade belongs to both sites. CT is the spot between heaven and bank that every rotation passes through, and the CT smoke from alley puts a wall across it. Throw it when you've committed, and the postplant becomes a 5v3 for long enough to matter.
Defending with utility (CT side)
CT-side utility on Overpass does a different job. On defence the map hands you the elevated angles for free, so it is there to break the T side's timing rather than to buy you space.
The fast monster smoke from CT spawn is an opener: thrown in the first seconds of the round, it closes monster — the tunnel that feeds B — so your B players can take short and water control instead of starting the round pinned on the site.
The molotovs each answer one specific thing the T side wants to do:
- Short tunnel molotov from B1 — the anti-rush grenade. A tunnel rush only works if it arrives together; fire in short tunnel splits it up and buys the rotation. Throw it on read, not on contact.
- Boost molotov from graffiti — the boost spot puts a T player from water straight onto the B platform. Burning it denies the boost outright.
- B site molotov from bridge — the anti-plant. It's a jumpthrow, and it puts fire on the site itself, so the bomb goes down somewhere worse or waits for your rotation to land.
Learn the exact lineups in GetReplay
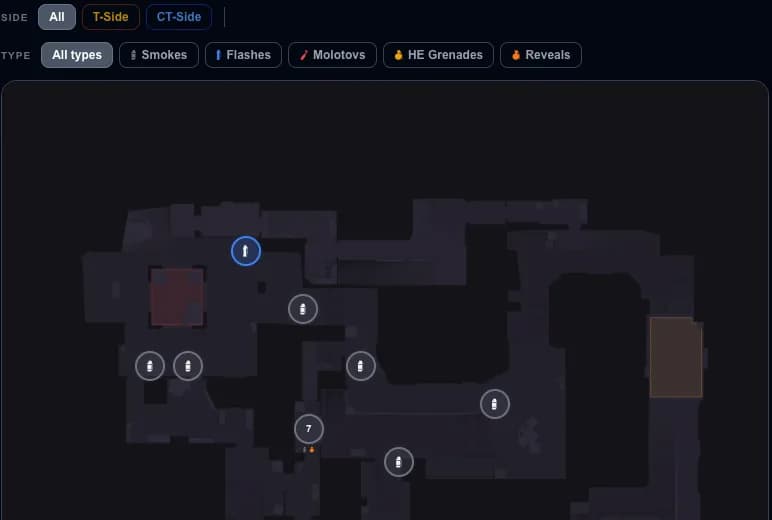
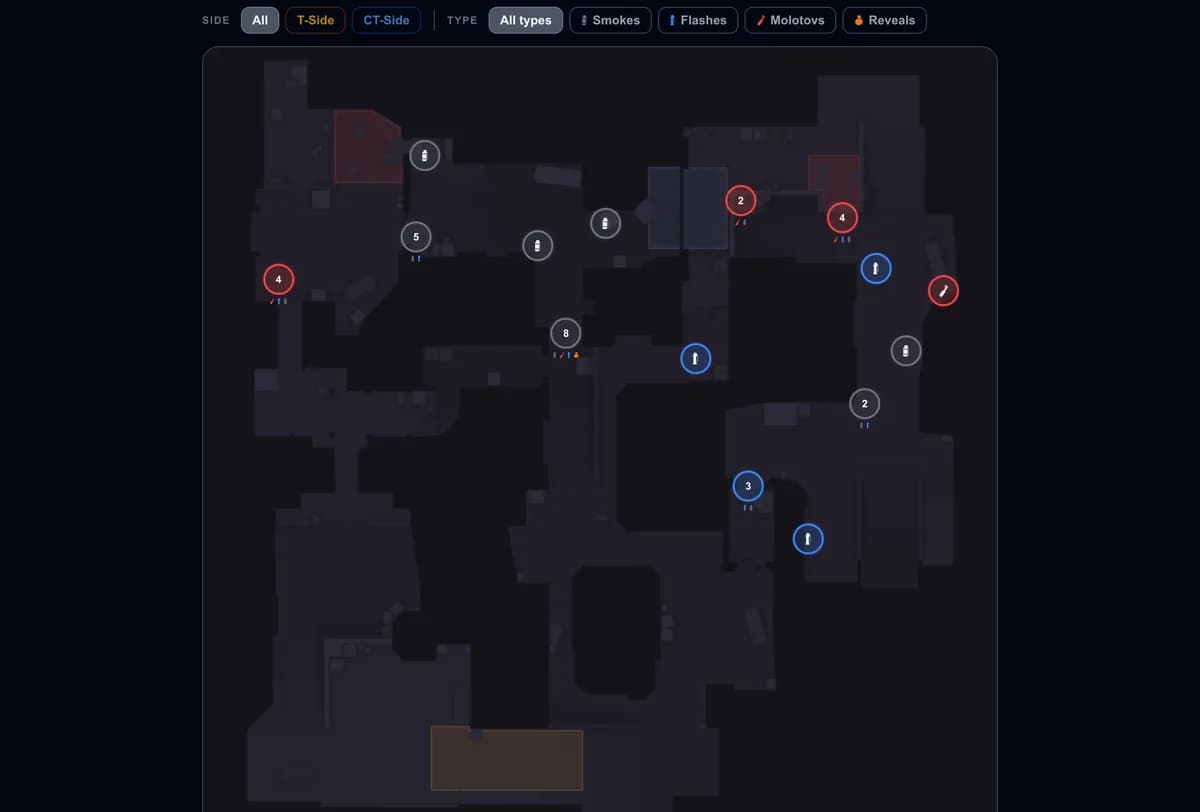
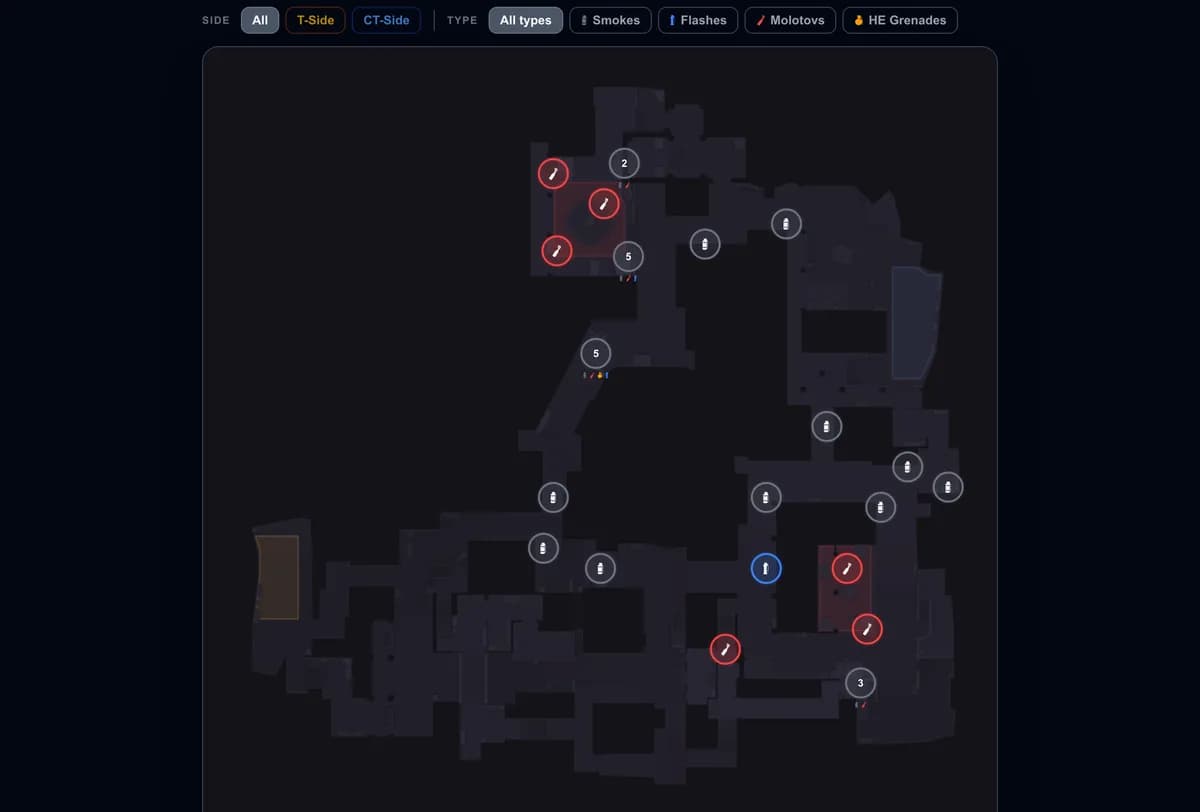
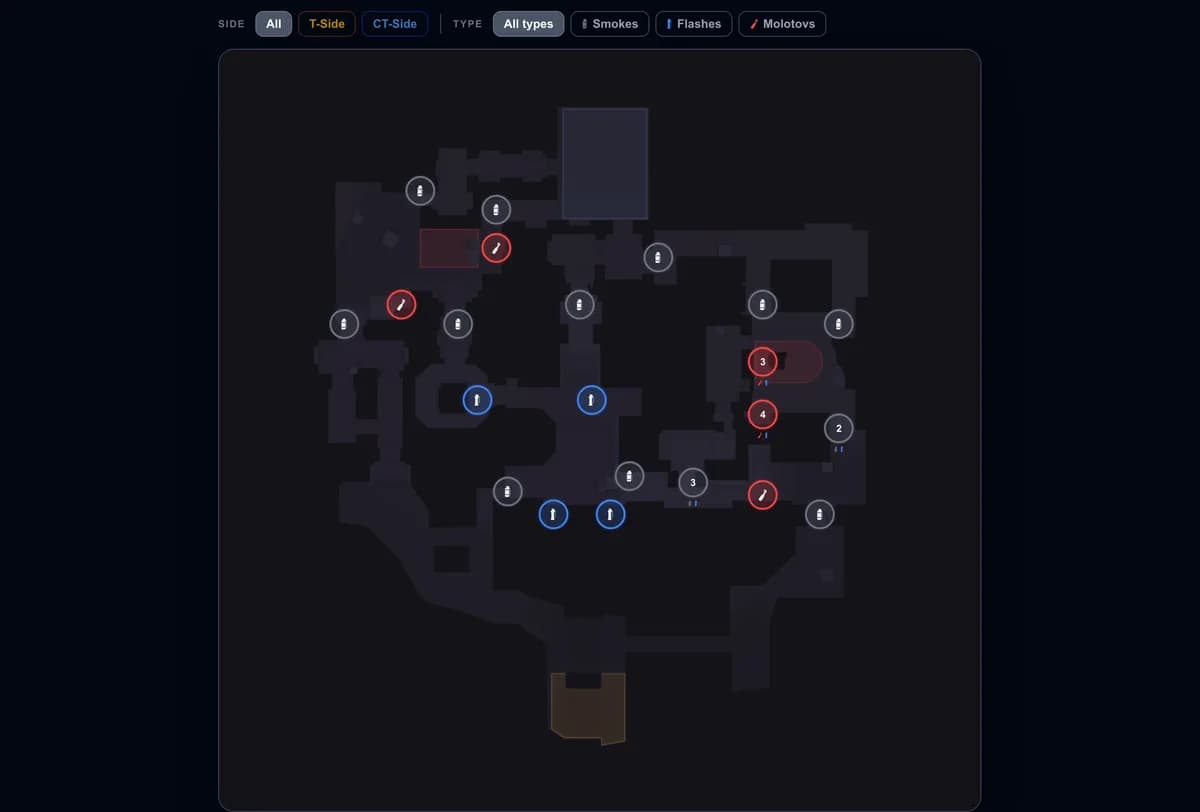
Knowing which grenade to throw is half the job; landing it is the other half. Every link above opens the lineup with its exact stand and aim point, and the Overpass utility tool lets you filter the full set by side and type — smokes, molotovs and flashes, the overwhelming majority for the T side. Start with a bank smoke, a heaven smoke and the toilets molotov, then widen your pool.
Drilling them until they're muscle memory
A lineup you can't hit under pressure isn't worth much. Load a local practice server, turn on sv_cheats 1, and use sv_rethrow_last_grenade to repeat the same throw instantly — see the repeat grenade command and bind for the one-key setup. Half the Overpass pool needs a jump, so set up a jumpthrow bind before you start. Run each throw ten times in a row until the motion is automatic.
Then check whether it's paying off: open a recent match in GetReplay and review your utility damage and flash assists to see which grenades are actually helping your team.
Once Overpass is covered, the Mirage lineups, Dust2 lineups, Inferno lineups, Ancient lineups and Nuke lineups are the natural next maps.
FAQ
Where can I find Overpass lineups? Use the Overpass utility tool — it shows the stand and land point for every smoke, flash and molotov, sorted by side and type. Every grenade named in this guide links straight to its lineup.
What is the most important smoke on Overpass? It depends on the site. For B it's the heaven smoke — heaven overlooks the whole site and no execute survives it being open. For A it's the bank smoke, because bank holds both entries at once.
How many lineups do I need to know for Overpass? Four or five carry most rounds: one bank smoke from the position you play, one heaven smoke, the mid toilets molotov, a barrels molotov for B, and the short tunnel molotov for defence.
Why is almost all Overpass utility T-side? Because the CT side starts with the positions that matter. Nearly all the lineups in the tool are T-side, and they exist to take away one elevated hold — bank, heaven or the barrels angle — that the defence otherwise gets for nothing.