Grenades and utility
CS2 Inferno Lineups: Smokes, Flashes & Molotovs
Inferno smokes, flashes and molotovs, grouped by what they are for — Banana, Mid, A executes and CT defense — each linked to its exact lineup.
Updated September 11, 2026
Inferno is the narrowest map in the pool, and that is exactly why it is a utility map. Banana, Mid, Short and Long are all corridors where one smoke or one molotov decides whether your team walks in or gets picked one by one. Most Inferno rounds are settled on Banana long before the site take. This guide walks through the Inferno smokes, flashes and molotovs that actually matter on each side, explains what every piece of utility is for, and links each one straight to its lineup.
For CT mid control, see the dedicated collection: Inferno FaZe Smoke in CS2: Six CT Spawn Lineups.
Hitting B once you own Banana (T side)
Banana control is the whole T-side game plan, but the grenades that win the site are the ones you throw after it — from Half Wall, Car and Sandbags.
The most important smoke here needs no lineup at all — CT is close enough to close by hand. The lineup you do want is the construction smoke, which is the stronger of the two because it also takes away the CT boost: either from banana or from half wall, depending on how far up you have pushed. The CT smoke from car is the situational version for when you are already at the car: it blocks the vision from CT into the site, the angle that punishes every B entry and every rotation you are trying to beat.
Then take the site positions away one by one:
- Coffins smoke from half wall — isolates Coffins, the strongest anchor spot on B.
- Coffins molotov from half wall — the version that forces the anchor out instead of just blocking them.
- Fountain smoke from banana and the fountain molotov from half wall — cover or burn the middle of the plant area.
- Dark molotov from sandbags — Dark is where the free kill on an entry comes from, so burn it before you swing.
Fire also clears the cubbies the CTs fall back into: the first oranges molotov from car, the second oranges molotov from car and the quad molotov from car all come from the same position, so one player can carry the whole set.
And if you are playing the back instead of entering, the B lurk smoke from car lands on the first box and opens an angle the defence is not watching, so you catch people from where they do not expect you. Out of Apartments the cart smoke does the same job: it covers the lurker's route so the pick comes from an angle nobody is holding.
Mid and Second Mid open the A site (T side)
Every good A execute on Inferno starts in Mid, because that is where the A smokes are thrown from.
Start with information: the top mid flash from mid blinds whoever is holding the top of Mid so you can contest it.
Then the standard A execute smokes, all thrown from Mid or Second Mid:
- A long smoke from mid or from alt mid — blocks the Long sightline so the wrap toward A is not an AWP duel.
- Arch smoke from alt mid — cuts the CT spawn side of the wrap, the smoke that makes a Long execute possible at all.
- Library smoke from mid — takes away the Library hold; there is a second lineup from mid if you throw it from a slightly different spot.
- Moto smoke from mid and its alternate from mid — the smoke that lets you push Short without being seen from the Library side.
- Moto smoke from boiler — the Boiler variant, listed as covering library and arch from one throwing spot.
Finish with fire: the CT apts molotov from alt mid burns the apartments angle that CTs use to trade your entry from behind.
Balcony and the plant (T side)
The last few metres of an A take are where executes die. The balcony molotov from boiler clears the Balcony hold before your team steps onto site.
Once the bomb is down, the post-plant anti-defuse molotov from A long lands on the default plant spot from a position you can hold, so the defuse simply does not start.
Holding Banana with utility (CT side)
On defense, Banana is bought with grenades, not with aim.
- Banana popflash from CT — pops over the wall so a pushing team gets no time to turn away.
- Car molotov from 1st orange — burns the Car cover and slows the early Banana take from a safe position on site.
- Half wall smoke from CT — blocks the Half Wall sightline so you can reposition or fall back without being traded.
- Half wall HE from banana and the half wall back HE — pre-damage on a predictable stack, so the swing that follows is cheap.
- B cut-off smoke from truck — the retreat smoke: it seals the entrance onto B site and buys the rotation time you need when Banana is lost.
- B entrance popflash from 1st orange — thrown onto the site entrance to blind the Ts coming in.
Retaking the site (CT side)
When the site is already lost, fire does the work the rifles cannot:
- Dark molotov from church and B site molotov from church — burn the Ts out of the B corners you cannot safely check.
- Mini pit molotov from A long — forces whoever is sitting in Pit out of the position that would otherwise trade your retake for free.
- Back site molotov from A long — covers the deep hold behind the plant spot.
Cutting Mid from CT spawn (CT side)
The instant smoke out of CT spawn is the most underused CT grenade on Inferno. Thrown in the first seconds of the round, it closes T Ramp before the Ts have taken any space, and your team can cross Mid unseen and put pressure on second mid.
There is a catch that nobody explains: CS2 gives you a different spawn point almost every round, so a single lineup only works from one of them. That is why the tool lists the same smoke once per spawn point — one lineup each: spawn 1, spawn 2, spawn 3, spawn 4, spawn 5, spawn 6. Learn the two or three you spawn on most often and you will have the smoke up almost every round.
Two more from the same area: the T ramp and banana smoke from CT spawn is the deeper version that covers both, and the bottom mid smoke from CT spawn shuts Bottom Mid instead. And the bottom mid smoke seals Bottom Mid so you can pressure mid without opening yourself up.
Learn the exact lineups in GetReplay
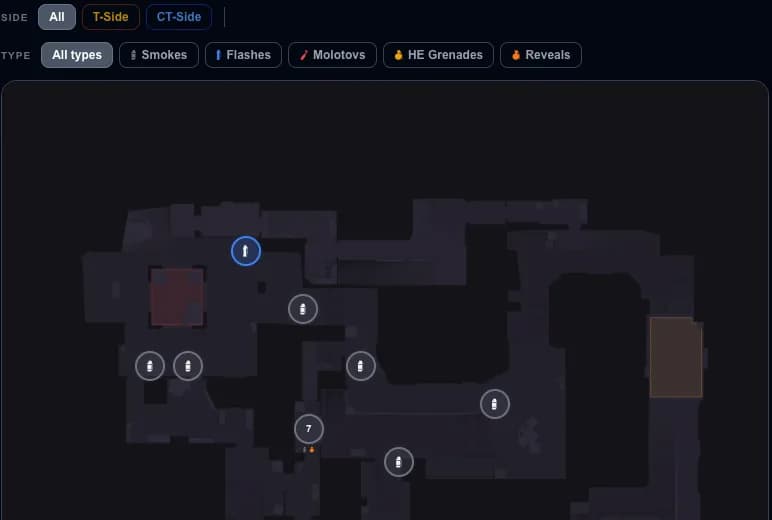
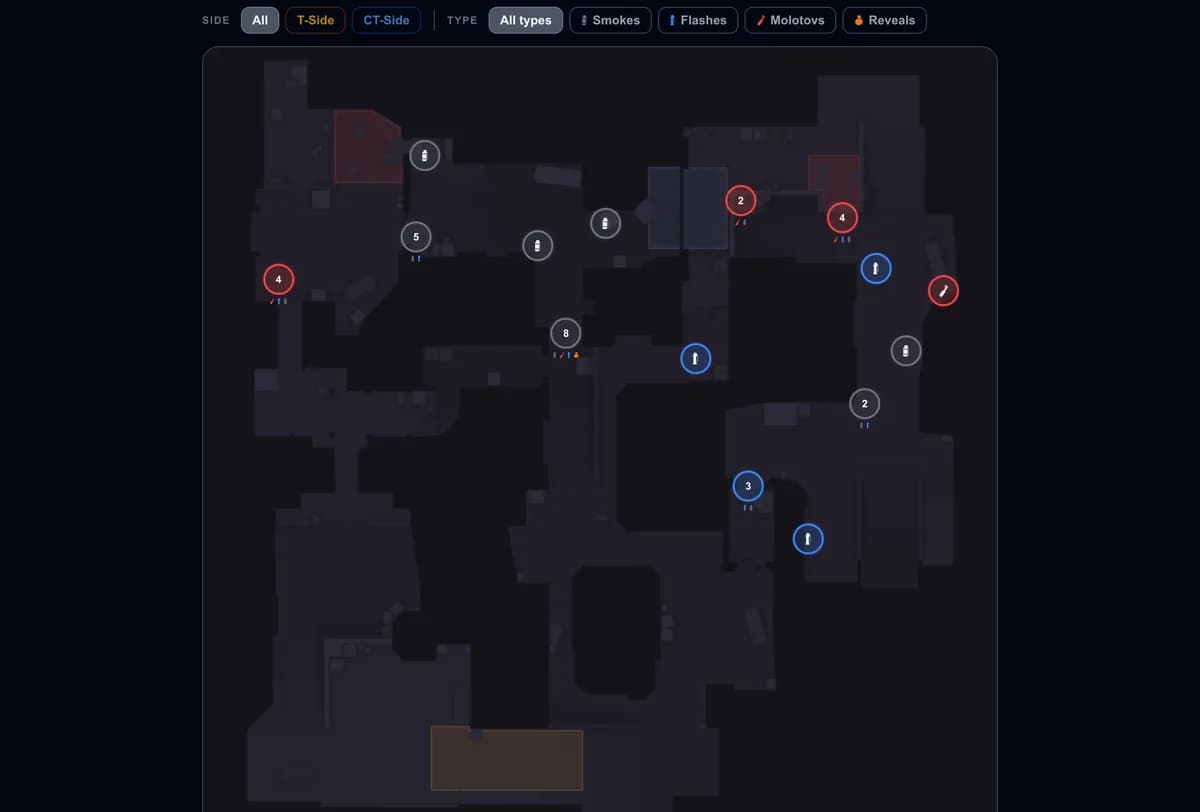
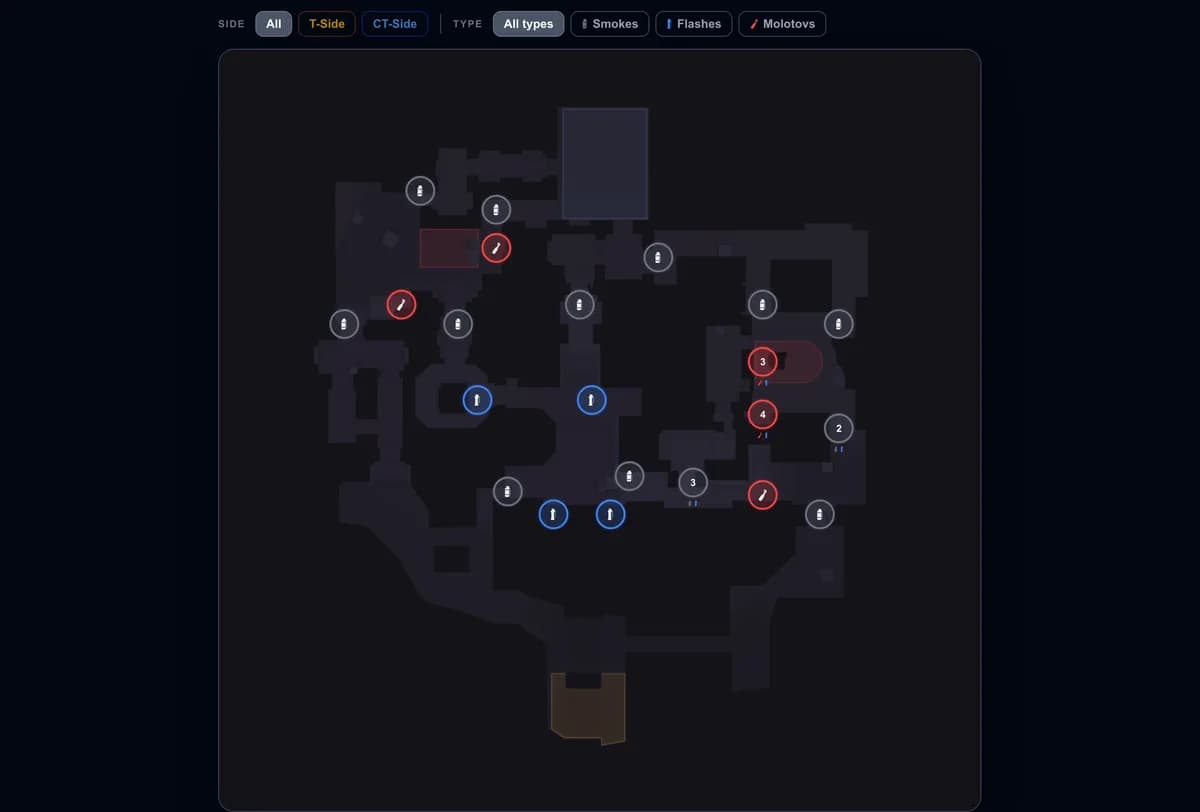
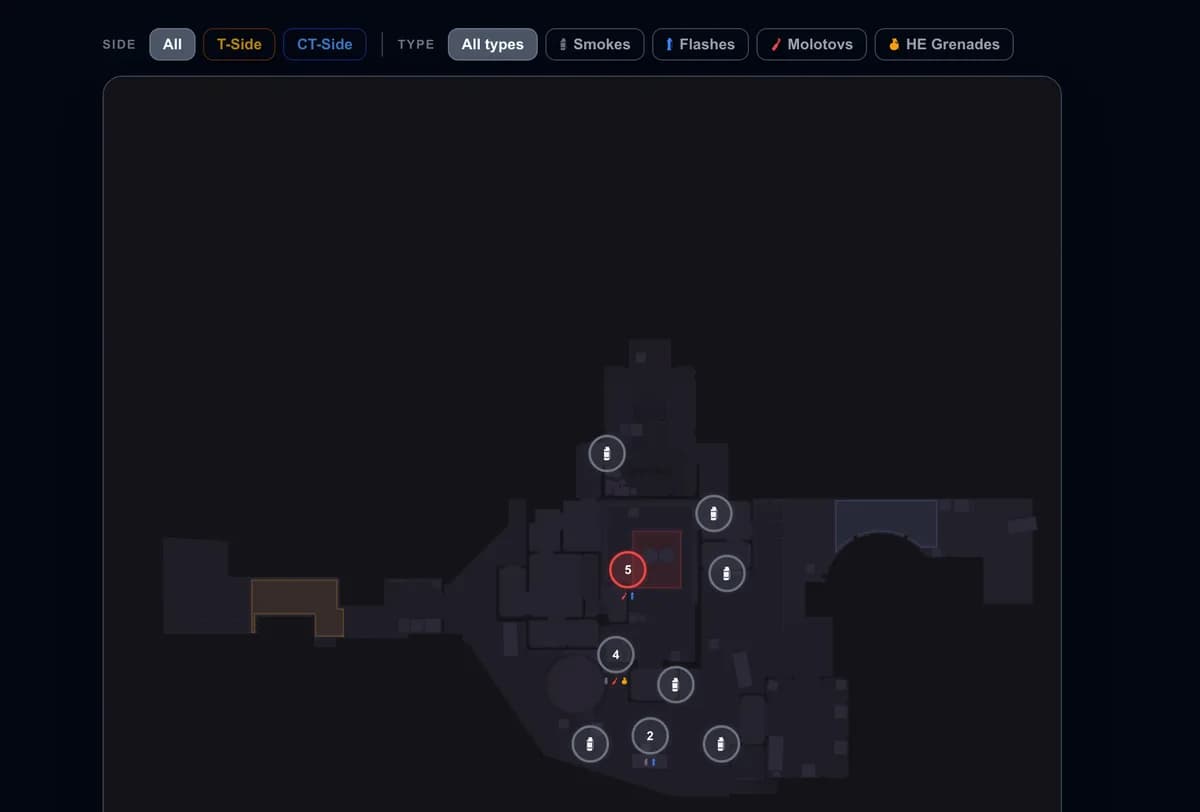
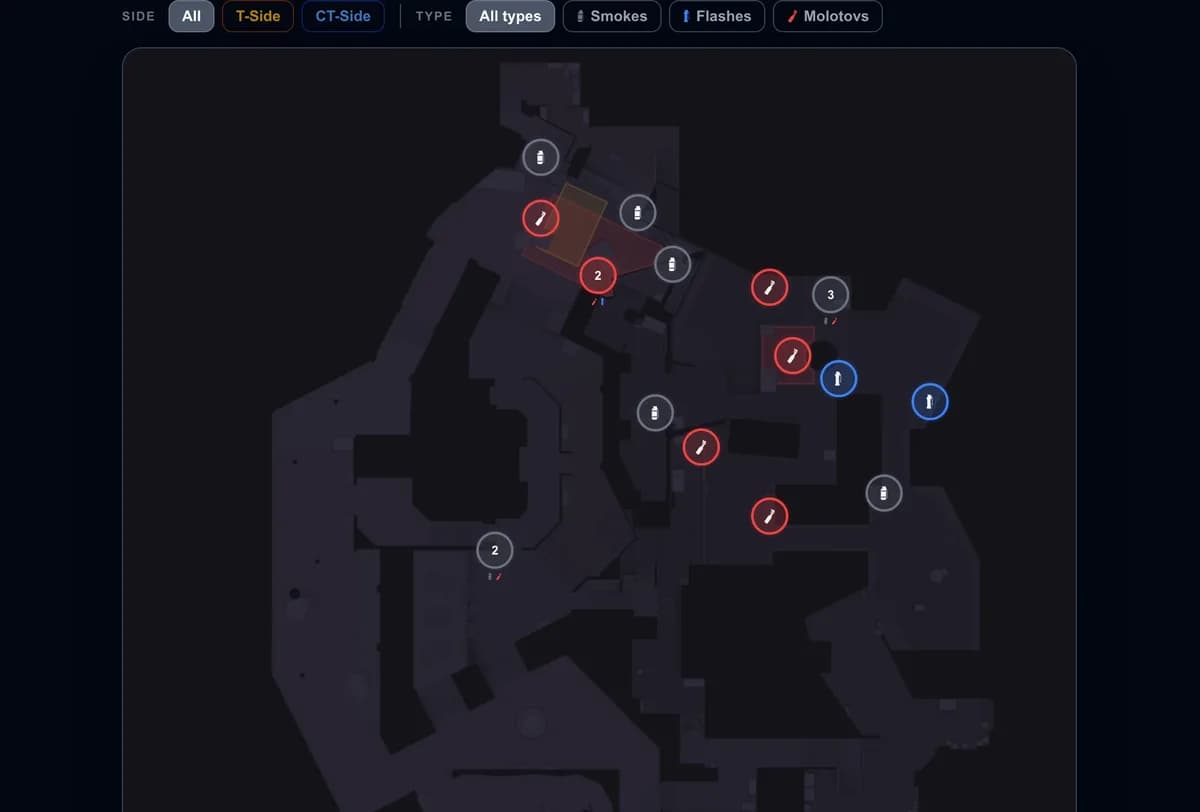
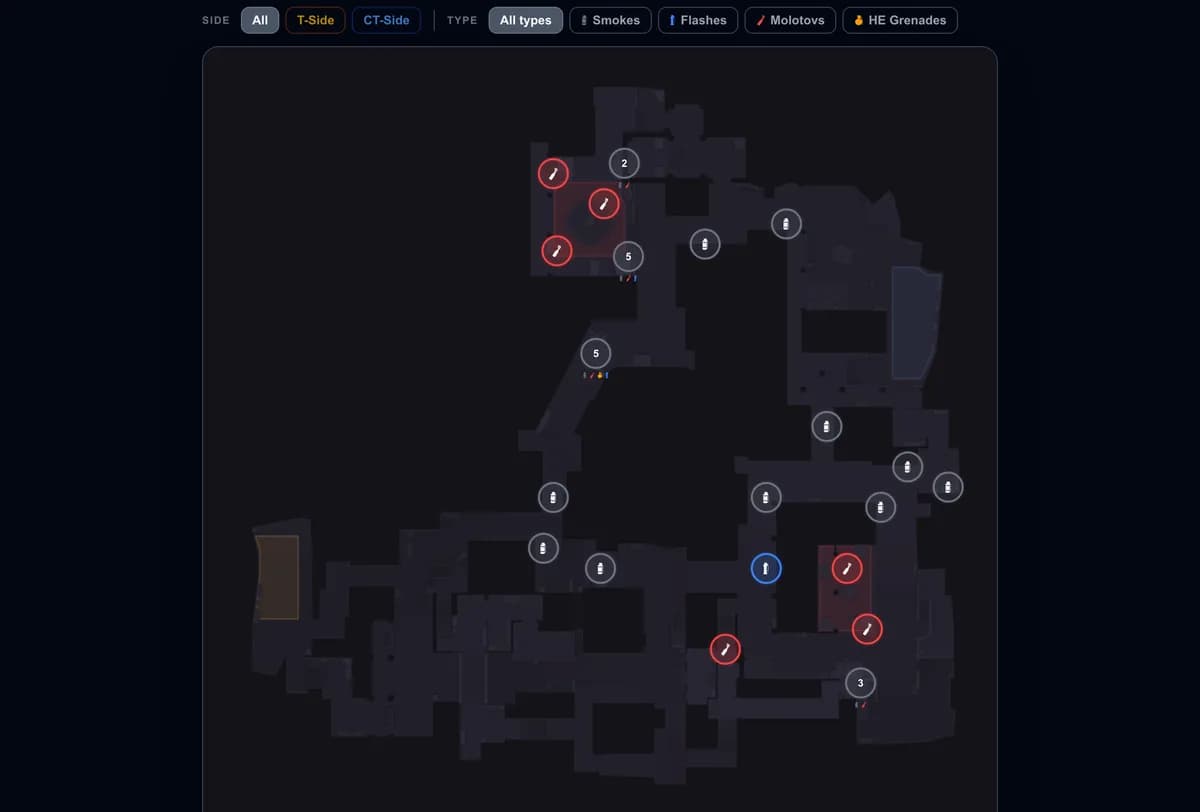
Knowing which grenade to throw is half the job; landing it is the other half. Every link above opens the lineup with its exact stand and aim point, and the Inferno utility tool lets you filter them by side and type — smokes, flashes, molotovs and HE. Start with the CT smoke on B, the Arch and Library pair for A, and one CT spawn smoke, then widen your pool.
Drilling them until they are muscle memory
A lineup you cannot hit under pressure is not worth much. Load a local practice server, turn on sv_cheats 1, and use sv_rethrow_last_grenade to repeat the same throw instantly — see the repeat grenade command and bind for the one-key setup. Several Inferno smokes are jump-throws, including the Library and Arch smokes and the CT spawn smokes, so get a jumpthrow bind sorted first. Run each one ten times in a row until the motion is automatic.
Then check whether it is paying off: open a recent match in GetReplay and review your utility damage and flash assists to see which grenades are actually helping your team.
Inferno pairs naturally with the Mirage lineups and the Dust2 lineups — the other two maps where utility decides more rounds than aim.
FAQ
Where can I find Inferno lineups? Use the Inferno utility tool — it shows the stand and land point for every smoke, flash, molotov and HE grenade, sorted by side and type. Every grenade named in this guide links straight to its lineup.
What is the most important smoke on Inferno? For the T side, the CT smoke from car: without it a B take is fought against angles you cannot see. For the CT side, the instant T ramp smoke from spawn, because it costs the Ts map control before the round really starts.
How many lineups do I need to know for Inferno? Five or six carry most rounds: the CT smoke, a Coffins smoke or molotov, Arch and Library for A, and one CT-side Banana grenade. Add the post-plant molotovs once those are automatic.
Why are there so many versions of the CT spawn mid smoke? Because CS2 puts you on a different CT spawn point each round and each one needs its own lineup. Learn the ones you get most often.
How do I practice Inferno lineups?
On a local server with sv_cheats 1, a jumpthrow bind and a rethrow bind, then review the results in your own demos.