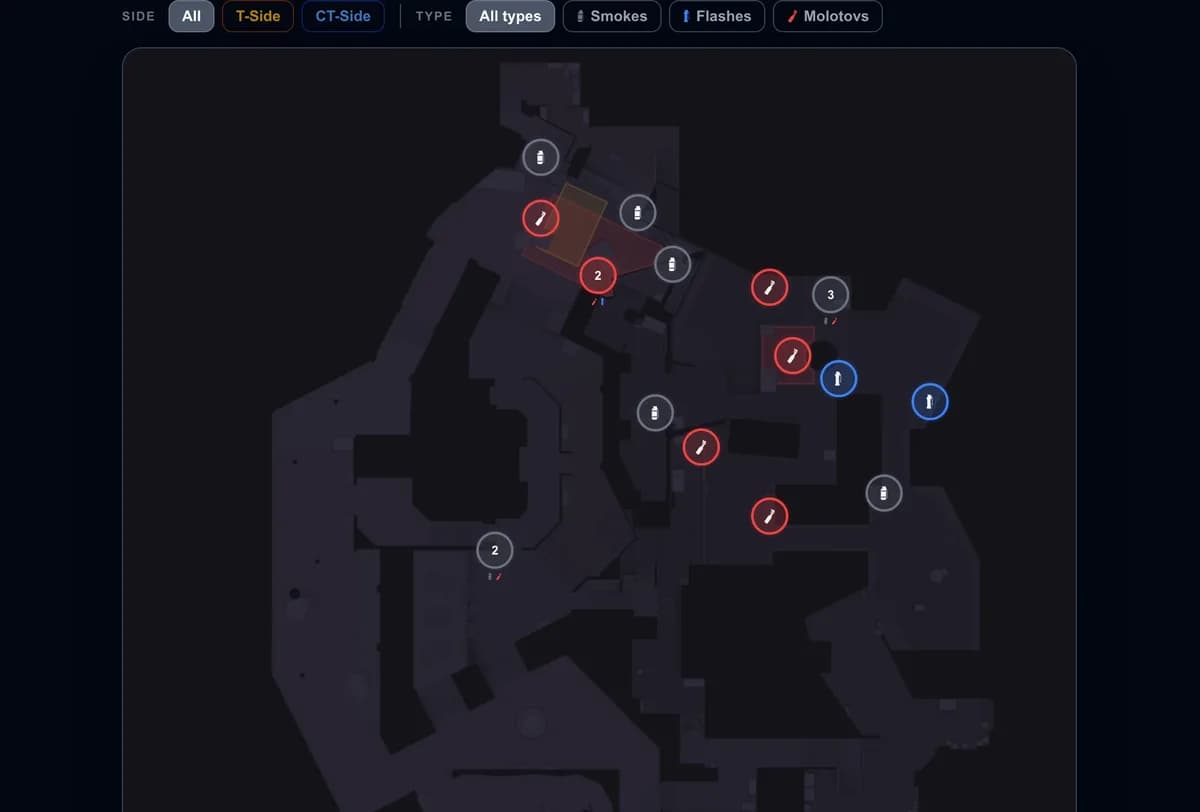
Grenades and utility
CS2 Dust2 Lineups: Smokes, Flashes & Molotovs
The must-know Dust2 smokes, flashes and molotovs for both sides — what each one is for, and how to drill the exact lineups with GetReplay's utility tool.
Updated July 30, 2026
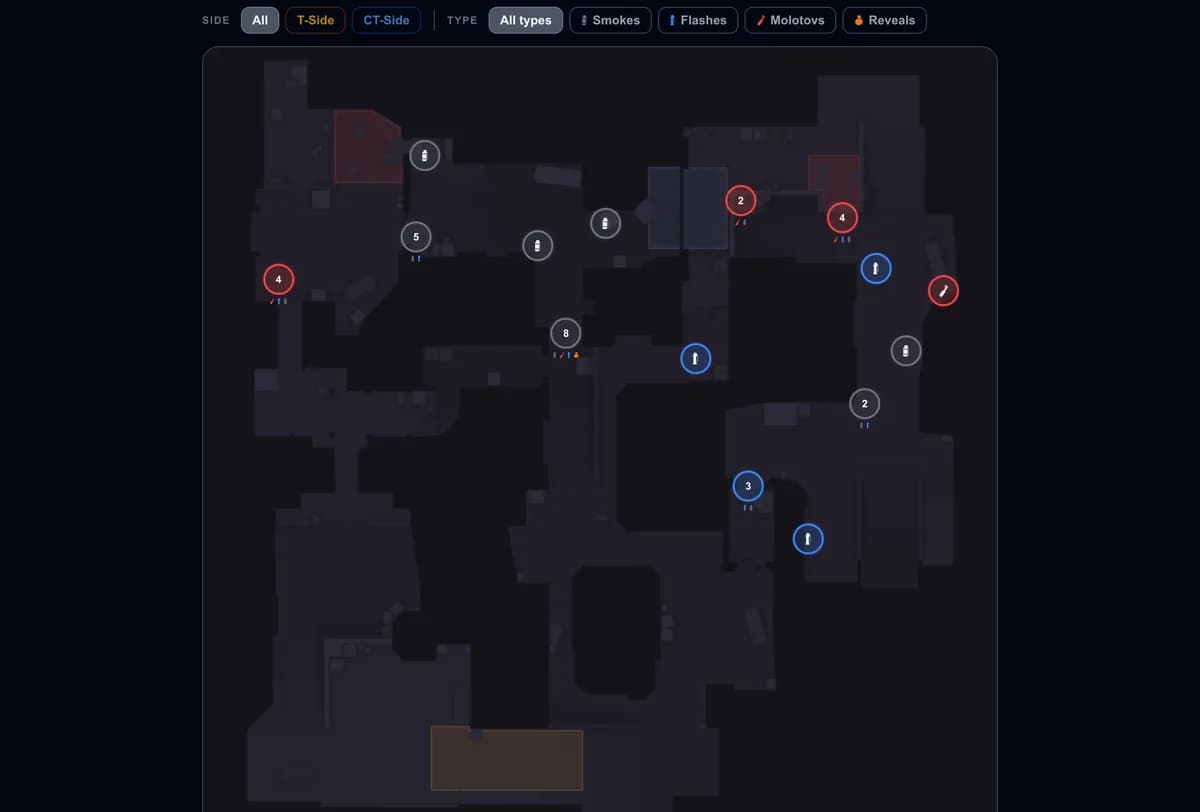
Dust2 looks like an aim map and gets played like one, which is exactly why utility decides so many rounds on it. Every important approach — mid doors, Long, Short, Tunnels — is a long sightline that one smoke turns from a coin flip into a controlled take. This guide walks through the Dust2 smokes, flashes and molotovs that actually matter on each side, explains what every piece of utility is for, and links each one straight to its lineup.
Mid control decides the map (T side)
If you learn one lineup on Dust2, learn the mid doors smoke from T spawn. It blocks the CT AWP angle through doors, which is the single sightline that stops your team from crossing to lower tunnels or contesting mid at all. It's also by far the most popular lineup on the map — for good reason.
The same smoke exists from several positions, because you don't always have time for the T spawn version:
- From Suicide — the alternative when you missed the early throw or need doors blocked later in the round from a forward position.
- From lower tunnels — lets you cross from lower to Short and push A, and opens the same path for teammates on cat.
- Waterfall smoke from Xbox — a tighter variant thrown from Xbox itself.
For full mid control, pair doors with the left CT mid smoke, which shuts down the aggressive AWP angle on the left side. And when you just want information, the mid doors self popflash pops right at the doors and blinds whoever holds the angle while you stay unflashed and swing out.
Taking Long and hitting A (T side)
Long is the widest, most punishing space on Dust2, so a Long take is almost entirely a utility problem.
Start with the flashes. The Long rush support flash is the standard opener — it blinds the CTs watching the doors from Long and from Pit while your team swings out of the doors and takes Long. If the CTs have already pushed onto Long and you're stuck at the doors, the taxi flash toward Long doors is what gets you out, since it covers CT spawn, blue box and the area left of doors. For a solo entry, the A door popflash detonates on arrival so defenders can't turn away in time.
Then the smokes. The A cross smoke is the essential one: it kills the cross sightline so CTs on Short can't pick your team off as it moves through Long toward site. The tool also lists Long smokes thrown from the boost spot and from A platform for either side, plus a Long take protection smoke when you want to isolate the take instead of trading through it.
Fire does the rest. The Long car molotov, thrown from the barrel near Pit entrance, forces the CT behind car out of cover. The default molotov from Long burns the CT's default hold on site and makes them reposition under pressure. And once the bomb is down, the A postplant molotov lands straight on the default plant spot from a safe position on the platform, so the defuse simply doesn't happen.
A short and catwalk (T side)
Short is the cheap route to A, but it's an AWP alley if you walk into it blind. Two flashes solve that: the lower tunnels flash toward Short blinds the AWPer or the aggressive player watching zigzag, and the close Short flash from low tunnel gives your entry a free first peek at the defender holding the angle.
Once you're on cat, the cat to stairs popflash blinds Stairs and the site positions behind it so you can actually push out. For a slower take, the A short boost smoke and the short boost molotov cover the boost spot without exposing anyone.
Executing B (T side)
B is the most utility-efficient site on Dust2 — three grenades and a rush beats most defaults.
The core smoke is the B doors smoke from upper tunnels. It stops CTs pushing through or peeking into site, and it's one of the first two or three lineups anyone should learn. For a rush, use the fast B doors smoke from the ramp instead — it lands earlier, before the CTs can react. There's also a doors smoke from tunnels as an alternate throwing position.
Add the B window smoke to cover the elevated window above the tunnel entrance, which is where most free kills on B entries come from. If you're splitting through mid instead, the mid to B smoke lands on the CT side near B and closes the rotation sightline — a proper lineup leaves no gap visible from Long.
Two more for the situational cases: the B lurk smoke blocks a key sightline so you can sit near B undetected while the team executes or fakes elsewhere, and the B doors postplant resmoke blocks doors a second time to delay the retake. To clear the fence positions on site, use the close fence molotov or the safe fence molotov if you'd rather throw it from cover.
Defending with utility (CT side)
On defense, utility buys time and breaks executes before they start:
- Long doors smoke — thrown at the start of the round, it denies the early T pick through doors and buys the time you need to set up A and Long.
- Deep Long defensive smoke — slows a Long push and forces the Ts to either walk through it blind or wait it out.
- Anti-push popflash onto Long from cross — pops instantly, so a pushing team gets no time to turn away.
- Support flash for Long control from cross — for when you're taking Long control rather than reacting to it.
- Anti-rush flash onto B car — the answer to a tunnels rush arriving faster than your rotation.
- B retake flash over B doors — thrown from the corner near CT spawn and the truck, it pops above the doors entrance and blinds the Ts holding postplant angles.
- Molotov to clear close mid corners — for the corners you can't safely check with a rifle.
Learn the exact lineups in GetReplay
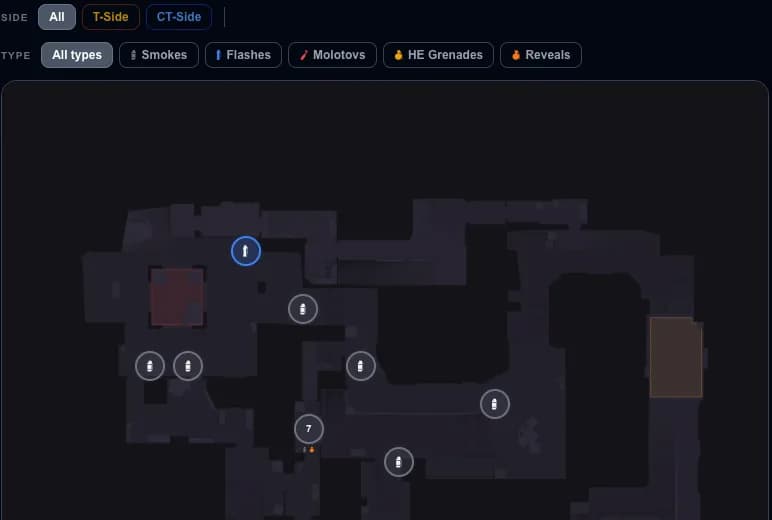
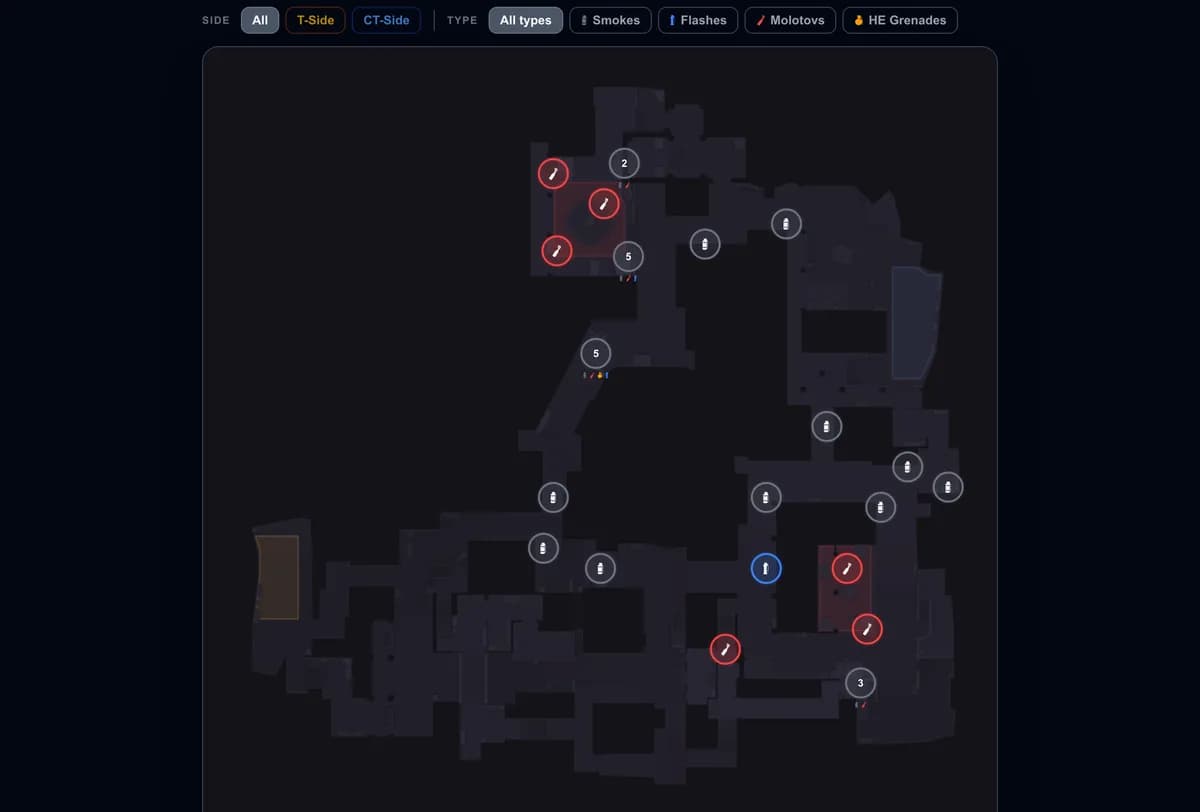
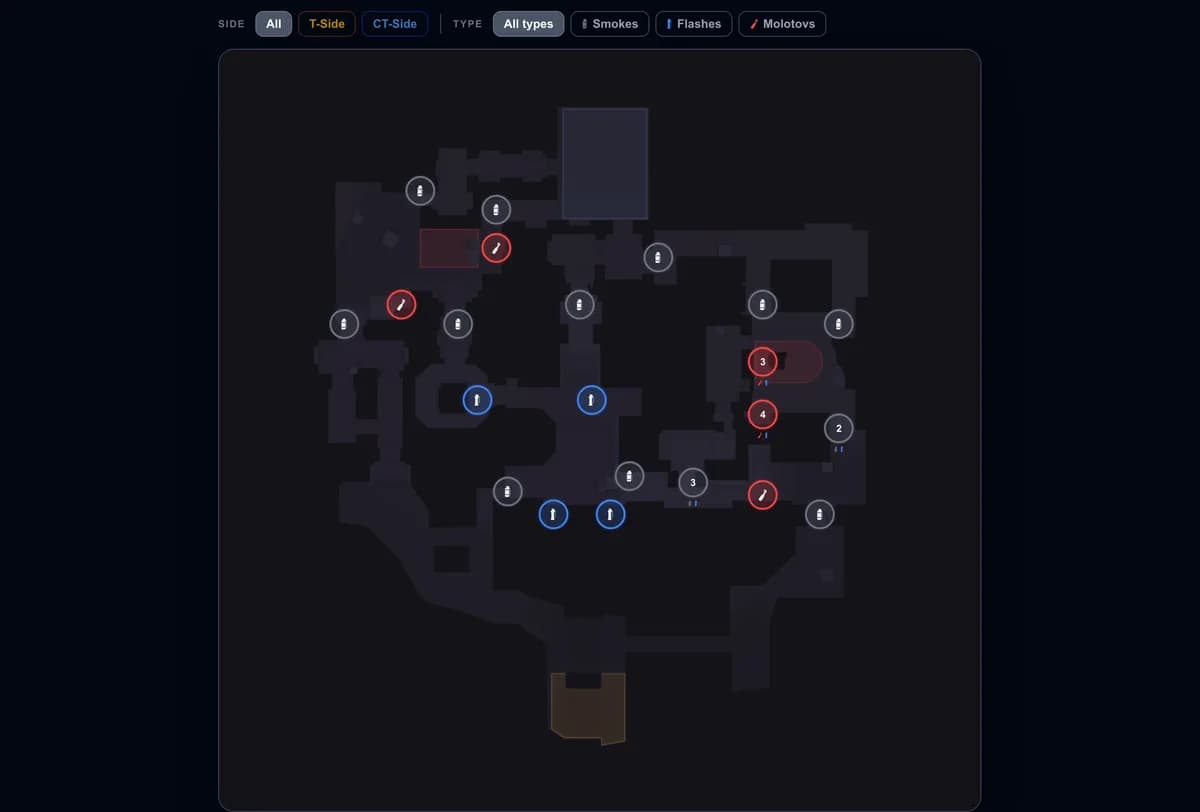
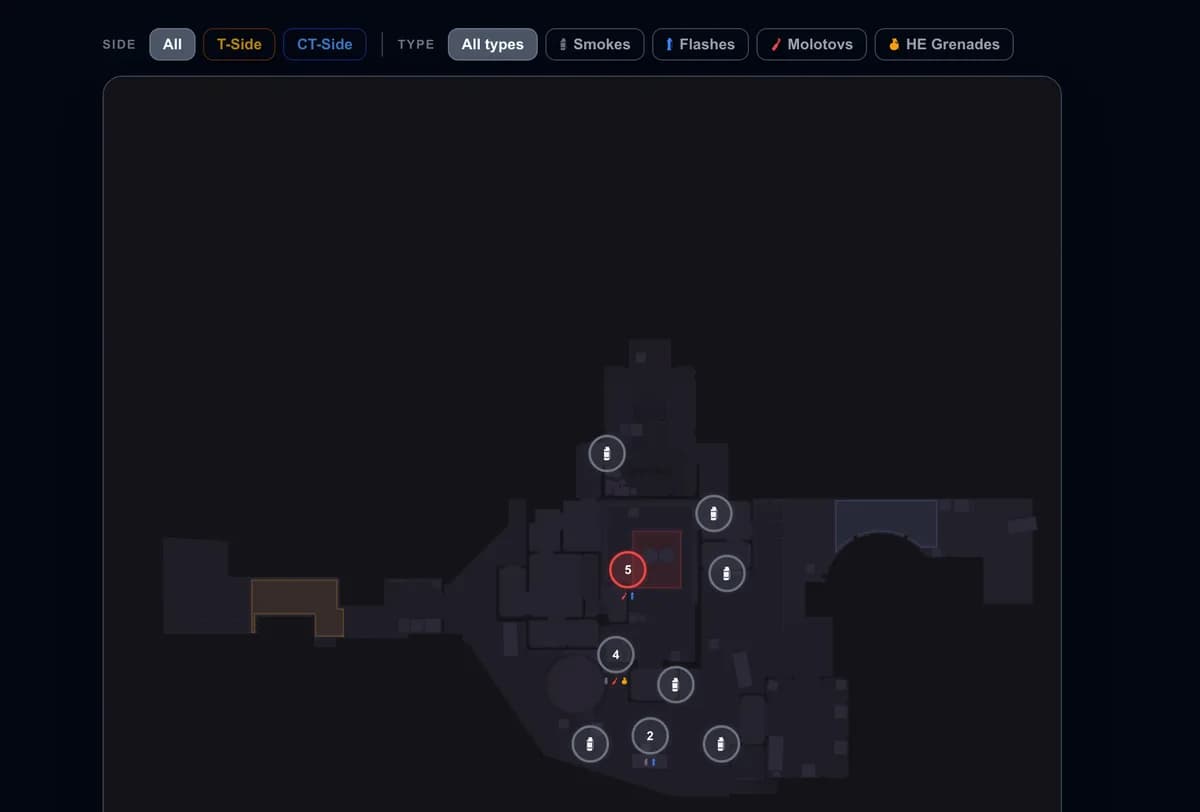
Knowing which grenade to throw is half the job; landing it is the other half. Every link above opens the lineup with its exact stand and aim point, and the Dust2 utility tool lets you filter the full set by side and type — smokes, flashes, molotovs and HE. Start with mid doors, A cross and B doors, then widen your pool.
Drilling them until they're muscle memory
A lineup you can't hit under pressure isn't worth much. Load a local practice server, turn on sv_cheats 1, and use sv_rethrow_last_grenade to repeat the same throw instantly — see the repeat grenade command and bind for the one-key setup. Roughly half the Dust2 lineups need a jump — including mid doors, B doors and the Long support flash — so get a jumpthrow bind sorted first. Run each smoke ten times in a row until the motion is automatic.
Then check whether it's paying off: open a recent match in GetReplay and review your utility damage and flash assists to see which grenades are actually helping your team.
Once Dust2 is covered, the Mirage lineups are the natural next map.
FAQ
Where can I find Dust2 lineups? Use the Dust2 utility tool — it shows the stand and land point for every smoke, flash and molotov, sorted by side and type. Every grenade named in this guide links straight to its lineup.
What is the most important smoke on Dust2? The mid doors smoke from T spawn. Without it, mid is an AWP duel you usually lose; with it, both sites open up. It's also the most popular Dust2 lineup on the site by a wide margin.
How many lineups do I need to know for Dust2? Five or six carry most rounds: mid doors, A cross, B doors, the Long support flash and one CT Long doors smoke. Add molotovs once those are automatic.
How do I practice Dust2 lineups?
On a local server with sv_cheats 1 and a rethrow bind, then review the results in your own demos.